Wallpaper Tips and Tricks
I absolutely love the look of wallpaper, but actually hanging it seems so intimidating! We attempted to hang wallpaper in the powder room at our townhouse and had to abandon the project (after we had already purchased a gorgeous black floral wallpaper) because our walls were too textured for the peel and stick wallpaper we had chosen.
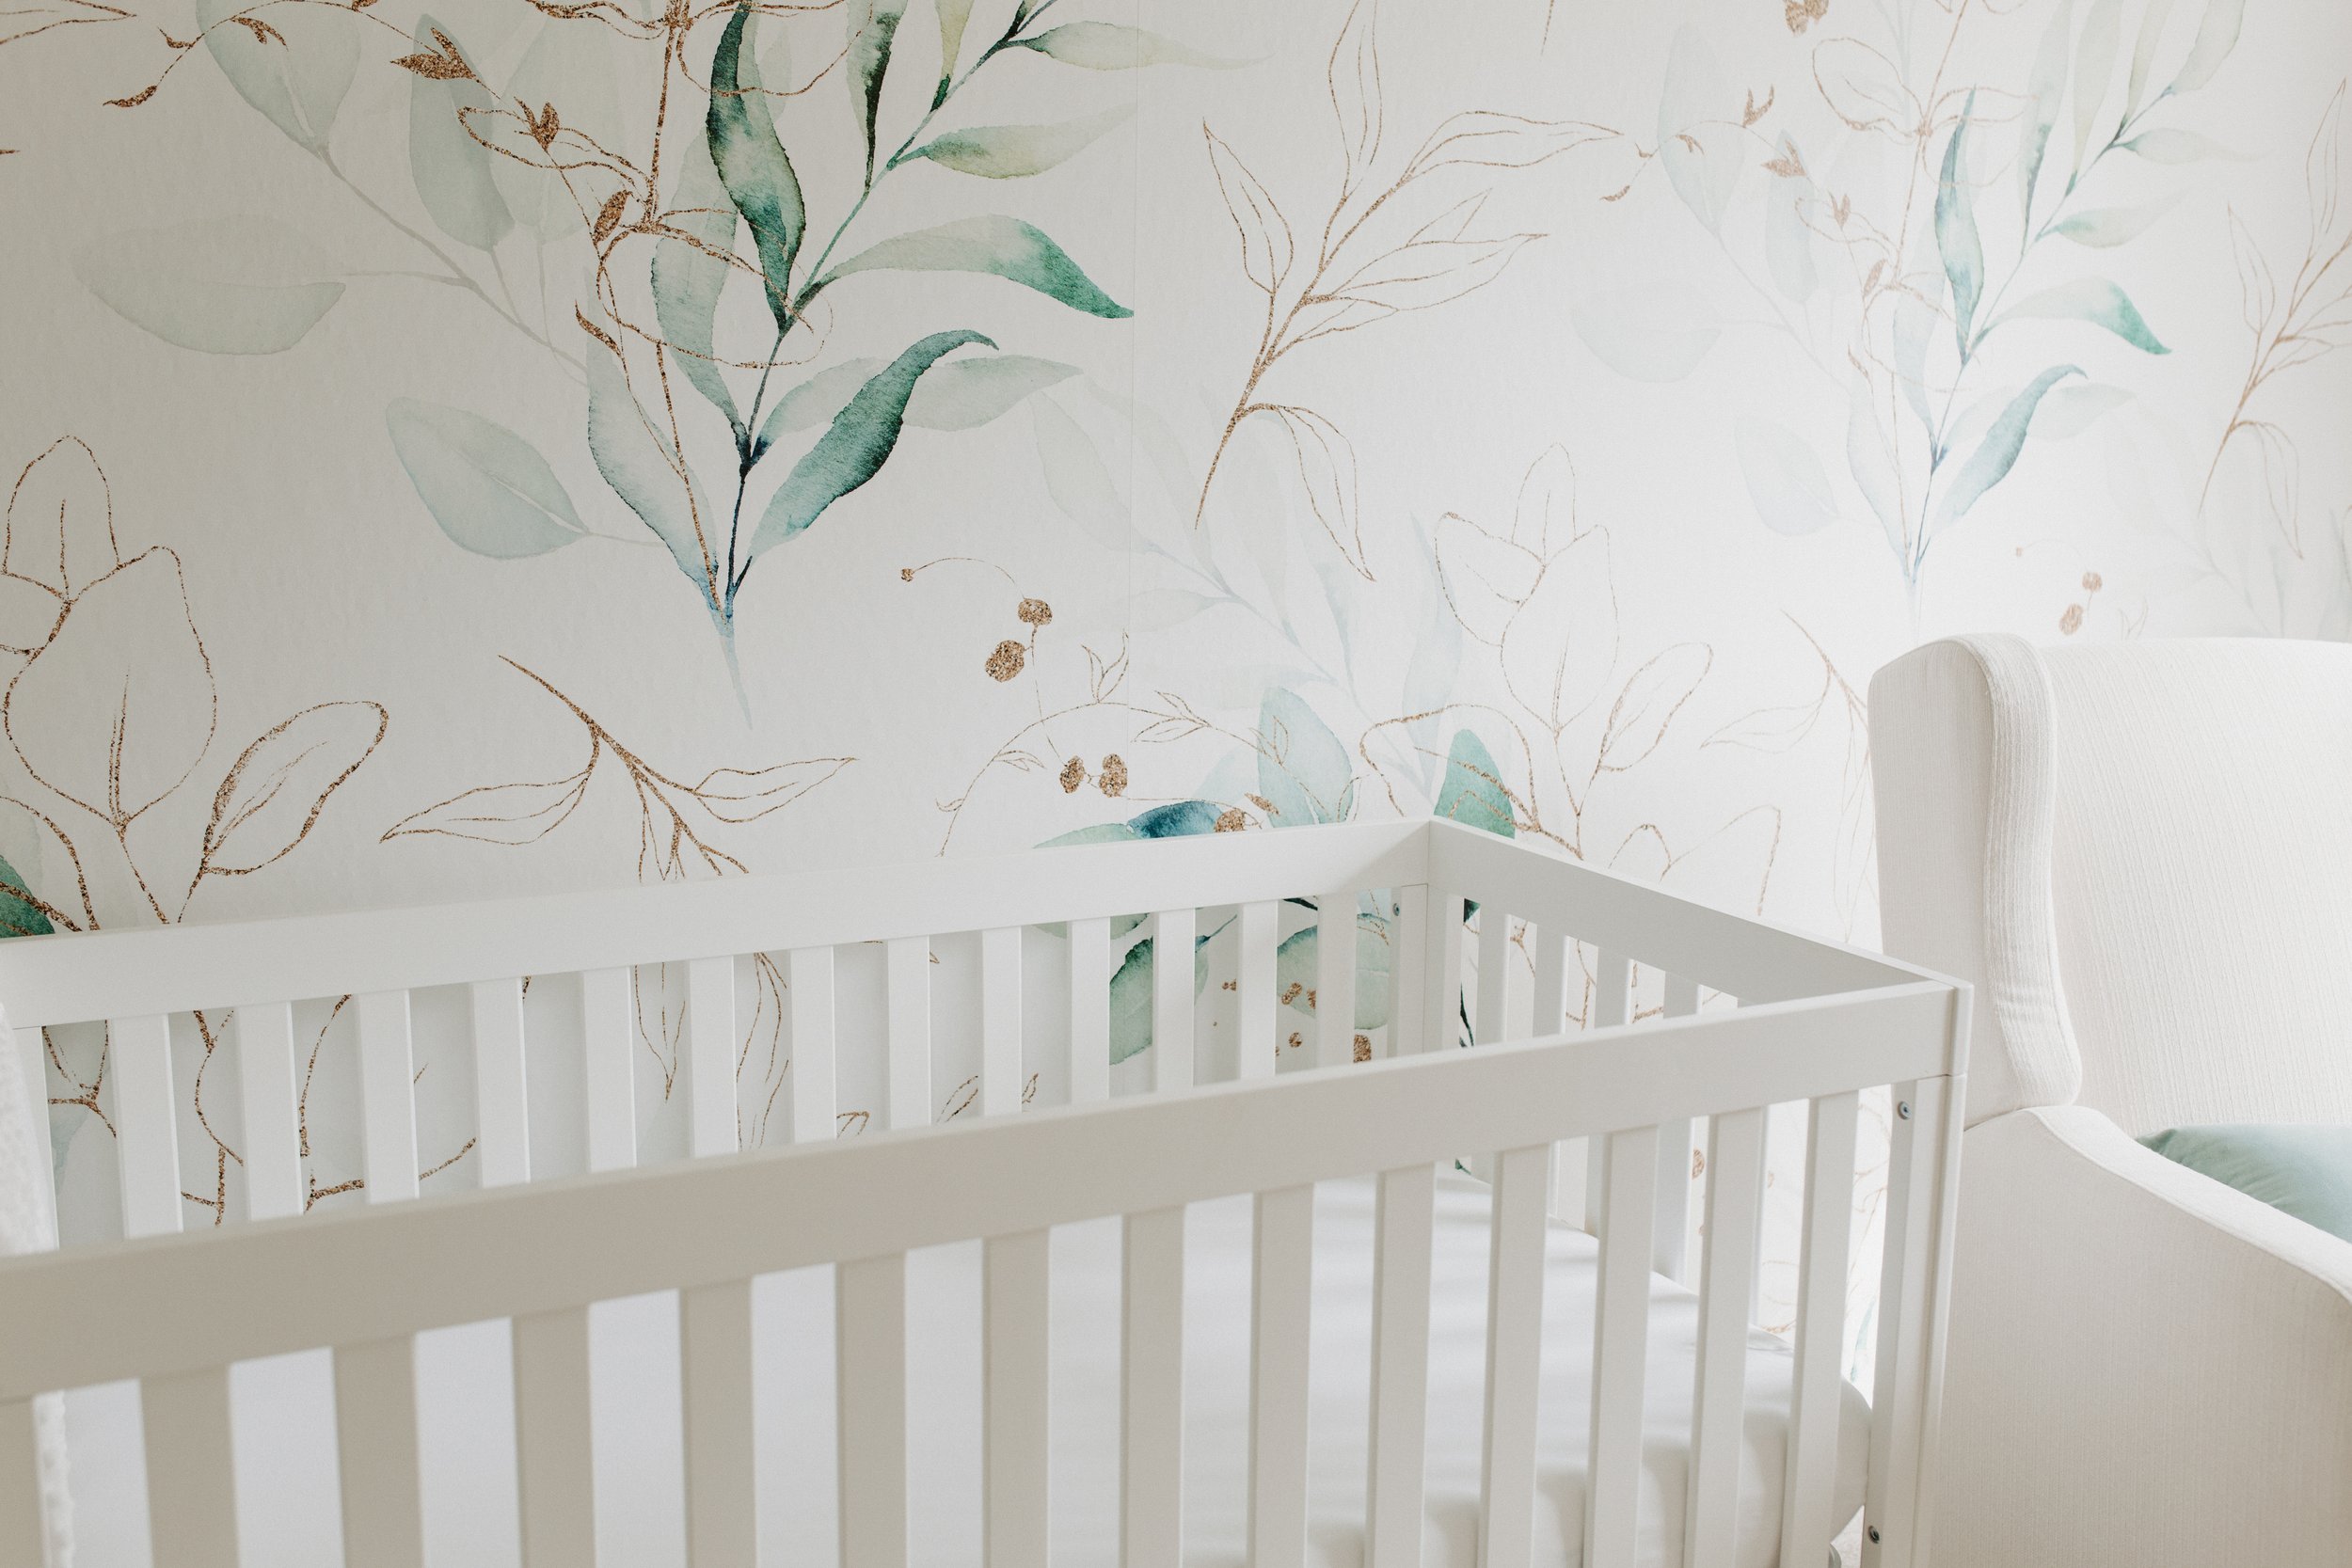
We did a wallpaper wall in our nursery and learned so much in the process! It was both much harder and much easier than I expected, and while the results are not perfect we are very happy with our efforts and the overall look. I’m sharing the tricks we learned below - I’m hoping to do our dining room next, and knowing these tips will make things much easier!
Measure, measure measure
The very first step is making sure you measure your room carefully and order the right sizing for your wallpaper! This is especially important if you are doing a mural style, but applies for any wallpaper you are getting.

Skip peel & stick if your walls have any texture
We made this mistake at our old house - we bought peel and stick wallpaper for our powder room and were not able to hang it because the walls were too textured and the wallpaper wouldn’t stick. The walls didn’t even seem all that textured to us!
Buy your own wallpaper paste
The wallpaper we hung in Vivian’s room came with wallpaper paste that we needed to mix up. Somehow we either messed it up or there wasn’t enough, so we ended up doing an emergency run to Home Depot the day we were planning on hanging it. You should be super generous with the paste when putting up the wallpaper, so it is a good idea to have extras!
Inspect your paper before starting
Before you get all of your supplies set up and your room ready, inspect your wallpaper to make sure there are no flaws or mistakes. This is also a good time to unroll the wallpaper so it can soften and lose the rolled up shape.
Enlist help
Hanging wallpaper is not a solo activity! Make sure you have at least one other person to help you with your project.

Prep your walls
Start by filling in small holes in the wall or sanding down anything that sticks out. Make your wall as smooth as possible before starting, because imperfections will show through! Next, give your walls a good cleaning. Once they are dry apply wallpaper primer to make the wallpaper go on more easily. A bonus is that using primer also makes the wallpaper more easily removed!
Don’t assume your walls are level
Almost no walls are perfectly level and straight, so don’t use your ceiling or corners as your level. We used a laser level to choose our plumb line (starting line) and it made things super easy!
Strategically choose where you will place your last seam
If you are doing just a wall like we did, you don’t need to do this since the pattern doesn’t close in on itself. However, if you are wallpapering an entire room eventually the wallpaper will end where you started, and it is extremely unlikely the pattern will line up at this point! So, choose an area that is inconspicuous. A popular place to start is above the door frame of the main door of the room. Since the seam is only above the door frame and not at eye level it won’t be very noticeable, and you won’t see it when walking in a room!
Trim and clean as you go
We found that trimming any excess wallpaper off the edges as we went made the wallpaper much smoother and was easier than waiting to trim until the end. Also, if you are being as generous with the paste as we were, it’s going to get a bit messy! The paste is easy to clean up if you clean as you go, so keep a sponge and water handy as you are working!
